Soup Dumplings
prep time: 1 day
cook time: 30 minutes
total time: 1 day 30 minutes
allergens/dietary restrictions: gluten, meat
this recipe makes 18 - 20 dumplings.
Ingredients
For the Aspic:
- 1/2 pound pork skin
- 1 pound pork neck bones
- water
- two slices ginger
- one scallion (cut into 3 pieces)
- 1 tablespoon shaoxing wine
For the Dough:
- 1 cup all-purpose flour
- 6 tablespoons warm water
For the Filling:
- 1 lb ground pork
- 2 tablespoons shaoxing wine
- 3/4 teaspoon salt
- 1/2 teaspoon sesame oil
- 3/4 teaspoon sugar
- 3 teaspoon light soy sauce
- 3 tablespoon water
- 1/8 teaspoon ground white-pepper
- 1 tablespoon ginger
- 1 heaping cup aspic
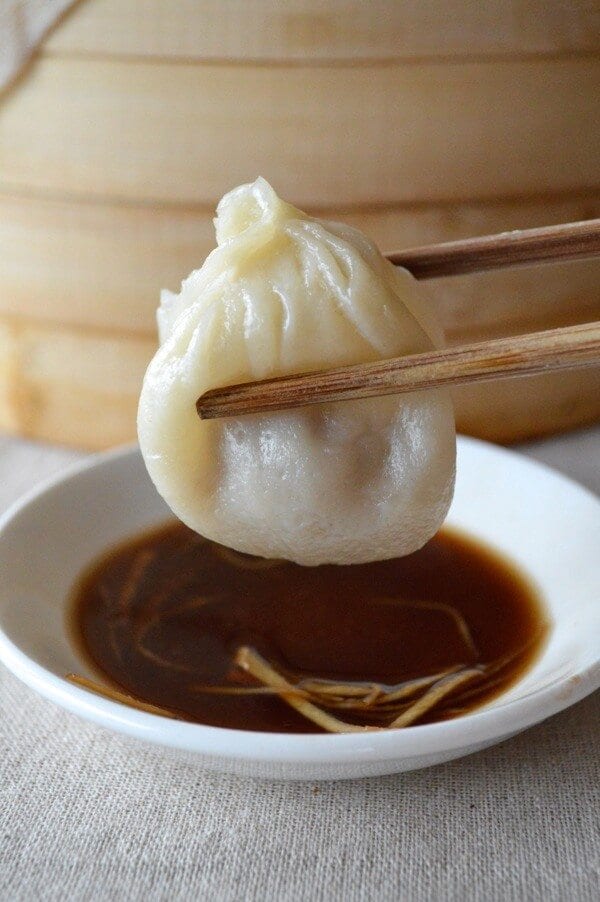
To serve
- Chinese black vinegar
- fresh ginger (julienned)
Instructions
For the Aspic:
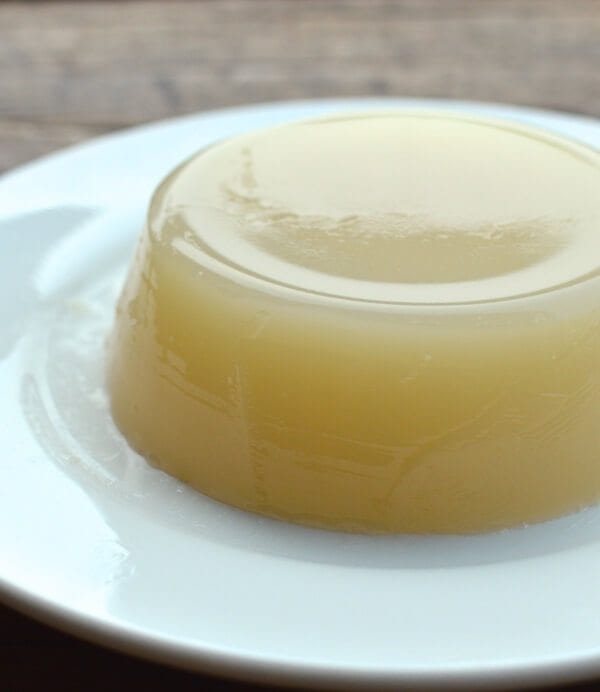
- In a small pot, add the pork skin and pork bones and cover with cold water. Bring to a rolling boil, and immediately drain and rinse off the bones and the skin. This gets rid of any impurities. Rinse out the pot and put everything back in. Add 4 cups (950 ml) water, ginger, scallion and wine. Bring the pot to a boil and then reduce the heat to low. Cover and simmer for 2 hours.
- After 2 hours, turn off the heat, allow the soup to cool, and strain the liquid into a bowl. Once the liquid is completely cooled, cover and refrigerate overnight.
For the Dough:
- In a mixing bowl, add the flour and the warm water 1 tablespoon at a time. Work and knead the dough for 15-20 minutes. The dough should be very soft and smooth. Cover with a cloth and let it rest for 30 minutes.
For the Filling:
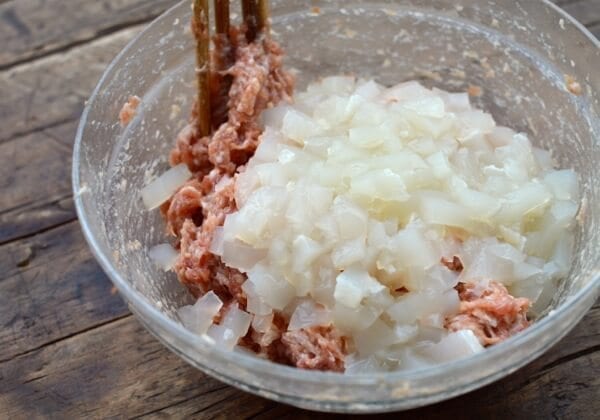
- Take your ground pork and put it in the food processor. Pulse for 30-60 seconds until the pork resembles paste. In a mixing bowl, add the pork and the rest of the ingredients except the aspic. Whip everything together thoroughly, for about 2 minutes. You want everything to be extremely well combined, and the pork should look like a light, airy paste. Gently fold in the diced aspic, and do not over-mix. Cover and transfer the filling to the refrigerator until ready to make the dumplings. If you’re ready now, you can put it in the freezer for 15 minutes to allow it to firm up and make assembling the buns easier.
Assembly
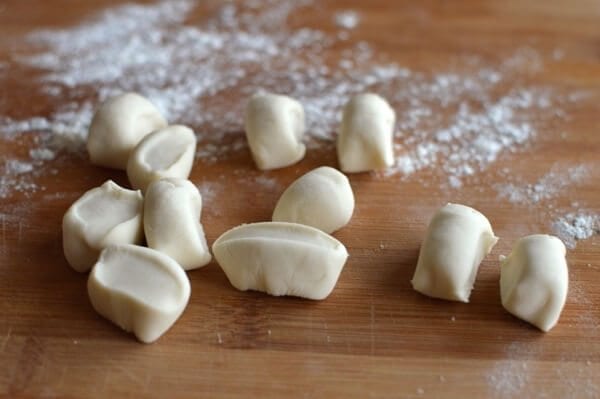
- Lightly dust a clean work surface with flour and roll the dough into a long cylinder/cigar, about an inch in diameter. Cut the dough into small equal pieces weighing about 11 grams each (the dough chunks should be a size resembling that of gnocchi). Roll out each piece into a round disc about 3 - 3 ¼ inches diameter. Keep everything under a damp cloth.
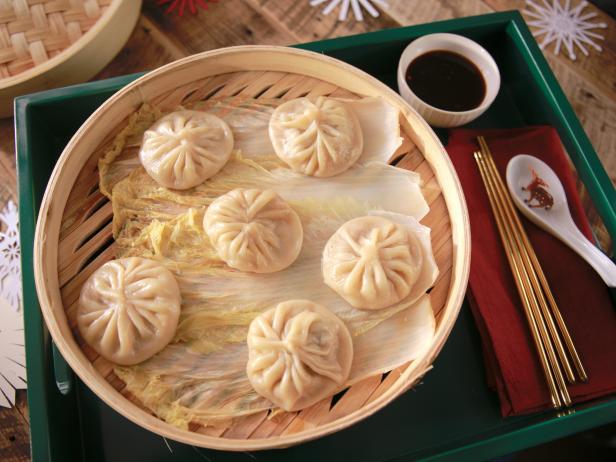
- Prepare your bamboo steamer. You can line it with cheese cloth, napa cabbage leaves, or these lovely bamboo steamer discs, which can be found in some Chinese restaurant supply stores (if using these, you must brush the discs with oil first!).
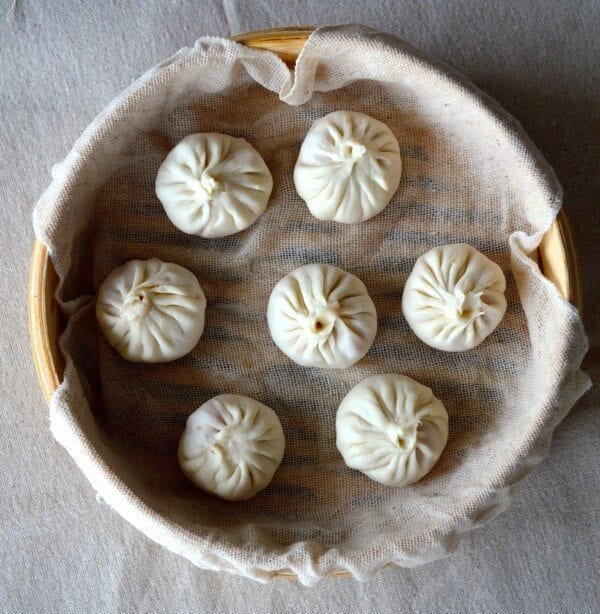
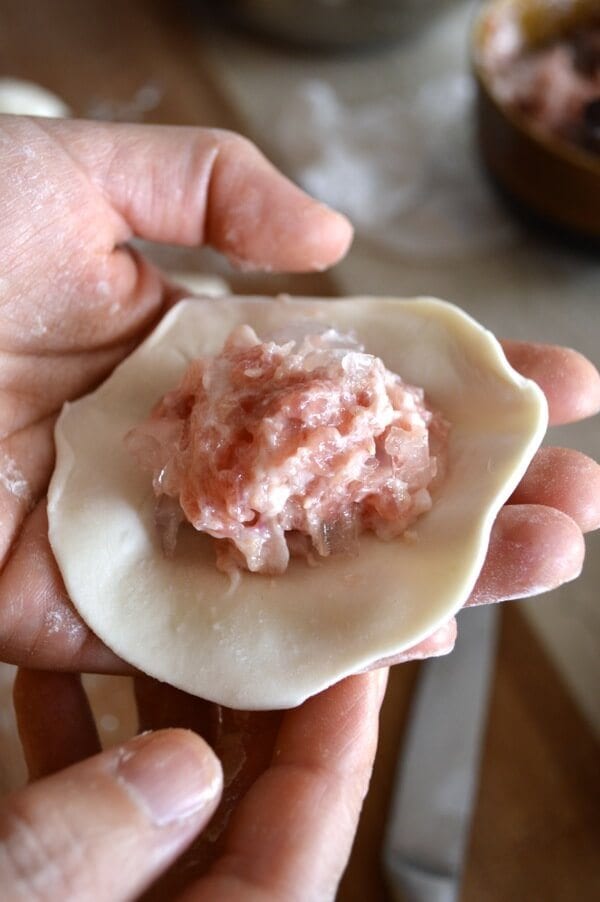
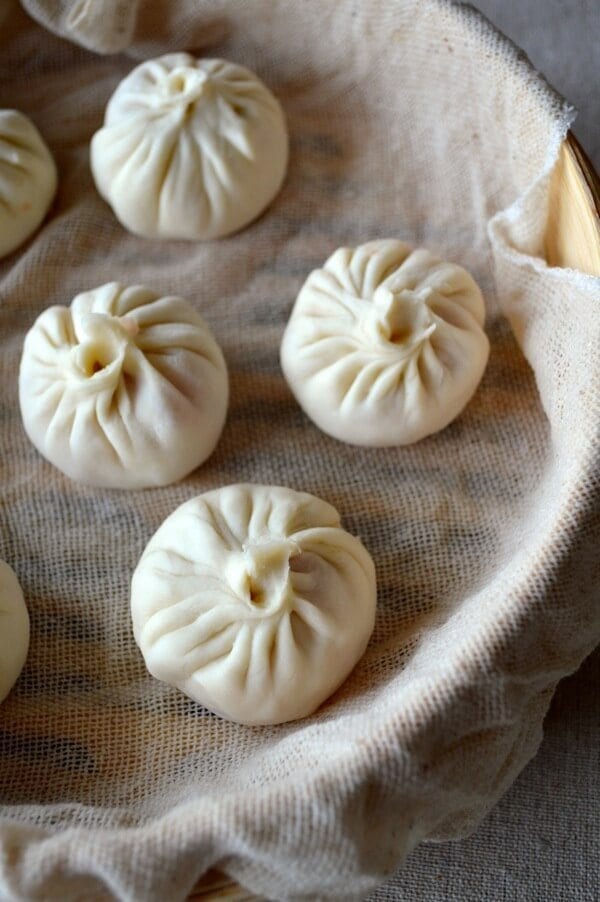
- When all that is prepared, take out the filling. You’ll be making each bun one at a time. Place about 1 tablespoon of filling in the middle of your dumpling skin. Pleat with as many folds as you can muster: 12-20 folds should do it. Make sure the top is sealed. If the filling ever gets too wet or hard to handle, put it in the freezer for another 15 minutes and start again.
- Place the buns in the lined steamer basket, about 2 inches apart.
Steaming
- In a metal steamer pot or wok, boil water. If using a wok, put the water at a level so that when you put the bamboo steamer into the wok, the water rises about ½ inch up the bottom of the bamboo base. You never want the water to touch the dumplings inside, though, so make sure not to fill it too high!
- Once the water is boiling, put the bamboo steamer in the wok or steamer pot, cover with the bamboo steamer lid, and steam over high heat for 8 minutes. Immediately remove the bamboo steamer from the pot and serve.
Research Evaluation Document
Recipe Websites
- Pick Up Limes
- The Woks of Life
- New York Times Cooking
I like that this site jumps right into the recipe and doesn't bog the reader down with a long blog post giving backgroun information on the dish. The recipe itself is also interactive; you can cross out each ingredient and step as you go, which is helpful when you're in the middle of coooking. Depending on the recipe, the webpage may also link to the YouTube video where the recipe developers show you on camera how to make the dish.
I like that this website gives background on each dish along with the recipe. This is particularly important for this type of blog because the site features mainly Chinese food and informing visitors who may not have background knowledge of Chinese culture could add to their experience of making the food. However, I'm not a fan of how the background information often comes before the recipe though as it means that I have to scroll farther down on the page to get to the recipe.
I like that the recipe layout uses the entire page so that information is accessible horizontally as well as vertically. For example, the ingredients list is on the left side while the instructions are on the right. It's less tiresome to scroll this way in comparison to recipe websites that have all the information on a vertical scroll path. I also like that they have a clear photo of the completed dish at the very top of the page.
Non-Recipe Websites with Good Design
- SONA NYC
- Dropbox Blog
- July Fund
I like the simple illustration on the homepage of the website. It renders the restaurant but not in a photographic style and I think it helps it blend into the theme of the website.
I like the use of color blocking on this website. It effectively uses color to mark the different categroies/sections of articles that is featured on the blog.
I like that there are discrete cards for each different topic. It makes the information easy to digest.